 |
| Nikon D810, Nikon 14-24mm f/2.8 lens, NiSi filter holder with NiSi 3-stop GND |
To re-cap: In August of 2015 I was contacted by NiSi, a Chinese company that makes camera filters. They offered me a filter holder for the Nikon 14-24mm f/2.8 lens and a couple filters in return for sending them photos and writing reviews. They are fairly new to the market so I hadn't really heard of them, but a quick look at some product information that I was sent and a Google search made me interested because the holder appeared to be a single piece that went on easier than the Fotodiox system I have, and the filters looked to be smaller than the monstrous Fotodiox rectangular grad filters I had tried (they were so big I never even used them). So in November of 2015 NiSi sent me the holder for the Nikon 14-24mm lens, a 10-stop 150mm square filter, and a 150x170mm rectangular 3-stop soft graduated neutral density filter.
The large 150mm NiSi filters are glass instead of resin based. This means they are easy to clean and scratch resistant, at the cost of being a little heavier. The filters appear to be high quality and I honestly don't have many negative things to say about them. The filter holder is great, the filters are great, the holder is easy to put on, the filters came with nice leatherette pouches, and I can wipe them without worrying about scratching them. The leatherette pouches even come with a card inserted into a plastic sleeve that displays what filter is in the pouch and the technical details of the filter. What's not to love?
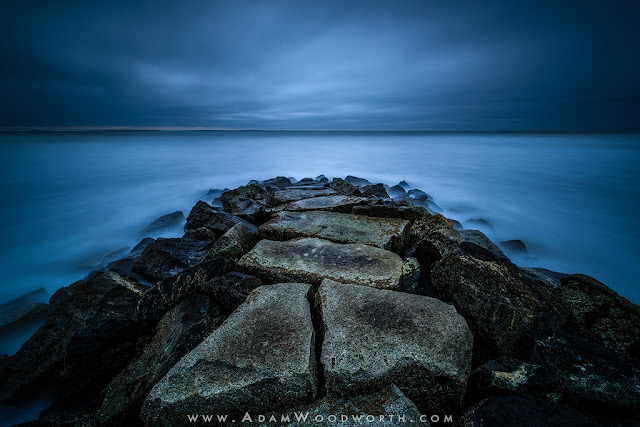 |
| Nikon D810, Nikon 14-24mm f/2.8 lens, NiSi filter holder with NiSi 3-stop GND and 10-stop ND |
The only real negative thing I can think of is that the 10-stop filter doesn't come with any documentation mentioning the gaskset. The 10-stop has a rubber gasket stuck to the backside to prevent light leakage, and if you don't put it on or take it out of the holder the right way you will strip some of the gasket. It would be nice to have a little pamphlet included with the 10-stop filter mentioning this just in case you aren't paying attention (like I did when I tried to remove the 10-stop and didn't realize the gasket was asymmetrical and meant the filter couldn't slide downwards to be taken out of the holder).
3-stop soft GND
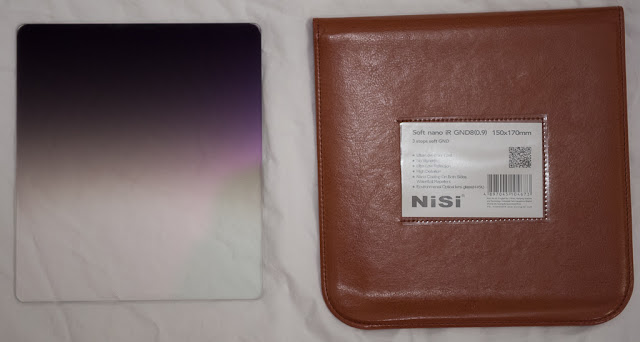 |
| NiSi 3-stop GND 150x170mm, the magenta color is from the filter glass reflecting the house lights. |
This is a great filter, I have no complaints about it. It does it's job well and without any color cast. The magenta color you see in the filter in the photo above is the glass reflecting the house lights.
10-stop ND
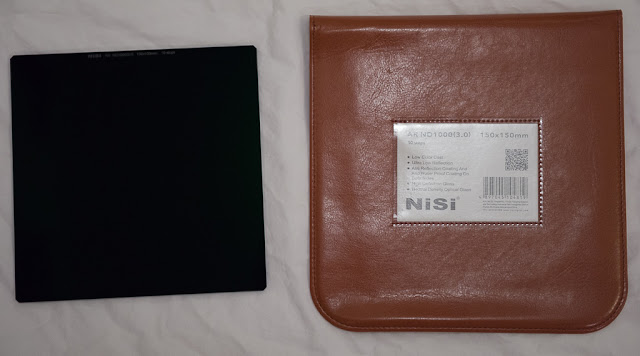 |
| NiSi 10-stop ND 150x150mm. |
|
I've enjoyed using this filter. It's been a long time since I've done 10-stop exposures at the ocean, and it was a lot of fun to try those again. This is a great filter that has a nice gasket on the back to help block light. As mentioned above, make sure you insert and remove this filter properly to avoid damaging the gasket. You also need to place this filter in the slot of the holder that is closest to the lens, and you may need to go one step further and put some masking tape around the holder to block as much light as you can. You may or may not have to do that depending on the ambient light.
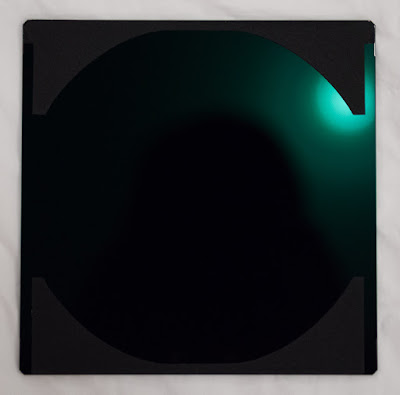 |
| Here you can see the light leak gasket on the back of the NiSi 10-stop ND. |
As with most 10-stop square filters this one vignettes a bit, that is, the density is less in the center than on the edges. So your long exposures come out a bit brighter in the center and darker on the edges. This is usually corrected with some vignette correction in Lightroom or Photoshop.
I haven't experienced any major color cast with this 10-stop filter, which is really nice. I think it pushes a little cool but it's not a big deal and easily corrected in post. I've also stacked the 3-stop with the 10-stop and didn't see any dramatic color shifting.
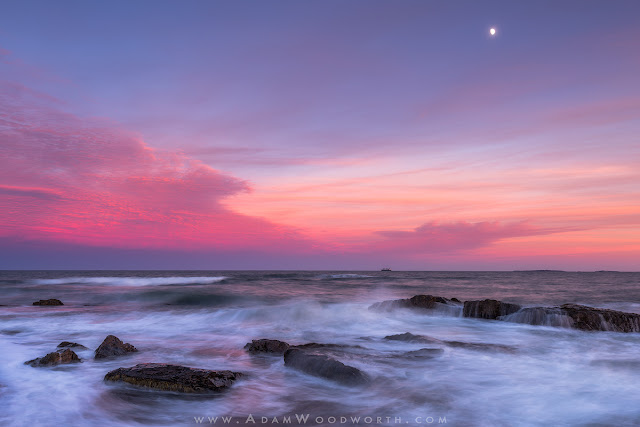 |
| Nikon D810, Nikon 14-24mm f/2.8 lens, NiSi filter holder with NiSi 3-stop GND. |
Conclusion
I really enjoy the NiSi filter system for my Nikon 14-24mm f/2.8 lens. It's not as big as other systems for the same lens, so they fit in my bag more easily, and the products are high quality.
Where to Buy NiSi Products in the US
You can buy NiSi products through 2filter:
http://www.2filter.com/shopsite_sc/store/html/NiSi_Filters.html


